
How to Keep Your AI Character Consistent Across Music Video Scenes

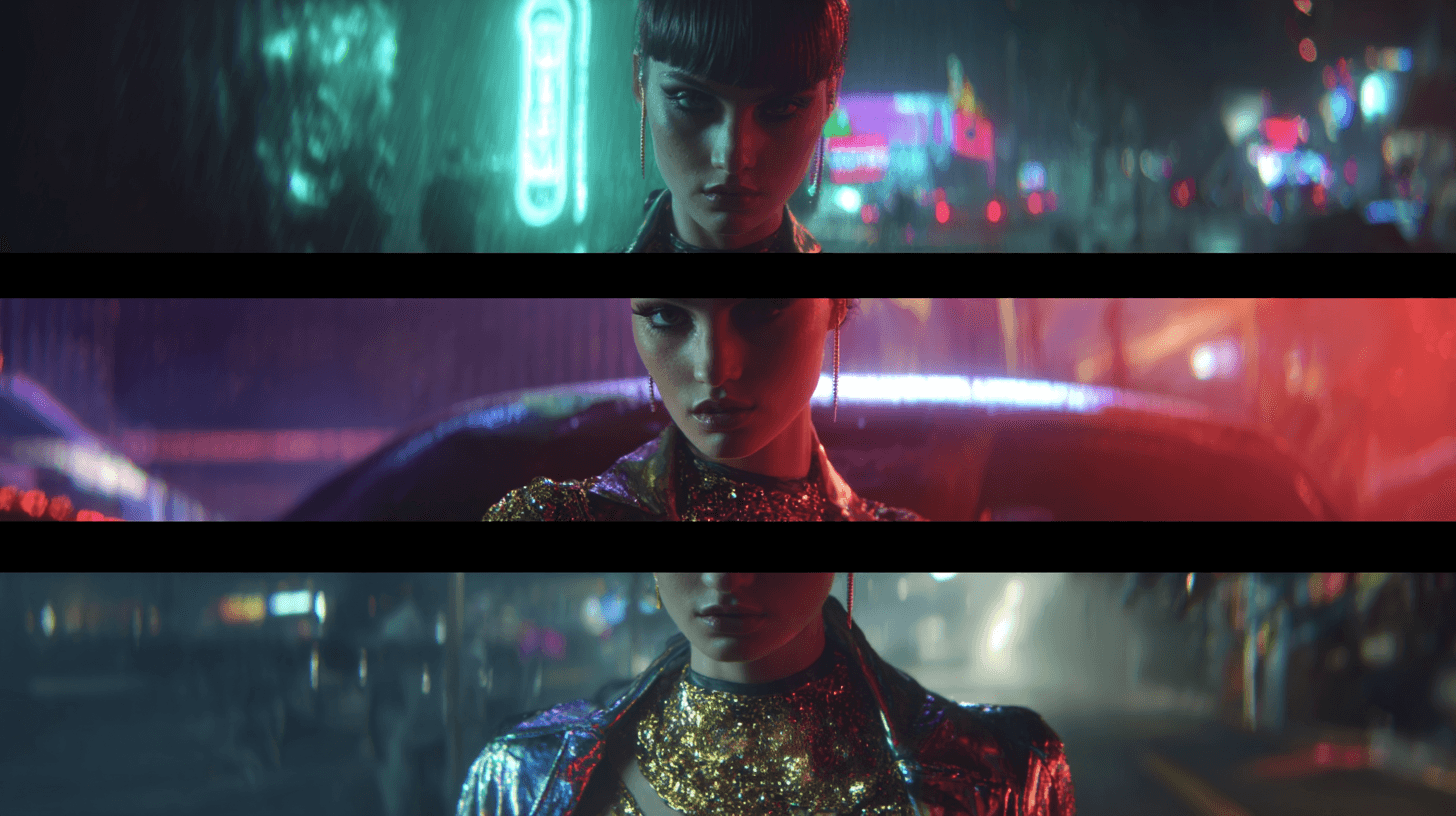
Two methods hold a character steady across shots. Keyframes define the exact frames a clip passes through. Reference images define who the character is across separate generations. This page walks the keyframe method through a 40-second performance reel, and tells you when to switch.
Why AI Characters Drift Between Shots
Every generation is a fresh sample. Nothing carries over unless you hand it back in.
Small differences compound. The jaw narrows slightly. Hair colour shifts warm. By the third clip you are looking at a relative of the person you designed.
This is not a niche complaint. Creators building multi-shot AI content describe face, voice and wardrobe drift as the most common problem they hit, and text-only continuity gets described as rolling the dice.
The fix in both methods is the same in principle: give the model an image to anchor on, not a longer sentence.
Two Ways to Hold a Character: Keyframes and References
Keyframes work inside one continuous shot. You supply images, the video passes through them in order, and the prompt handles the motion between them.
References work across separate shots. You supply an identity, and each generation re-anchors from it.
A music-video performance reel is mostly the first case: continuous performance, known poses, one camera move at a time. That is what the workflow below uses. The decision table further down covers the other case.
What You Need
- One identity anchor — a single clean image of your performer.
- Three or four pose variations — generated from that anchor, not from each other.
- A track and an editor — cuts happen there, not in the generation.
Your performer is an original fictional character. Not a real artist, not a lookalike.
Build the Reel: A 40-Second Performance in Four Passes
Lock the Face
Generate one clean, front-facing, full-body image in Midjourney. Neutral background, even light, no readable text or logos.
Do this first, and do it here. Every pose variation derives from this image, so it needs to be the strongest version of the face you will get.
Midjourney — identity anchor

an original adult performer in their early twenties with distinctive platinum
silver hair in a short blunt cut and direct confident expression, full-body
front-facing identity portrait, fitted black harness top and dark trousers,
plain mid-grey studio backdrop, even softbox lighting, realistic skin and fabric
texture, clean character reference, generous negative space
--ar 9:16 --style raw --s 70 --no text, logo, celebrity, copyrighted character,
extra person, watermark
Build the Pose Variations
Upload the anchor to GPT Image 2 and generate each pose separately. Freeze the person, change the pose and the stage light.
Match the lighting direction across every variation. Mismatched lighting is the most common cause of colour drift between keyframes — a front-lit close-up next to a backlit full body gives the model nothing coherent to interpolate.
GPT Image 2 — pose variation, generated from the anchor

Use the supplied portrait as the exact identity reference. Create a vertical
full-body keyframe of the same performer, mid-shot, arms raised above head, on a
dark stage with blue and pink crowd lights behind. Preserve the exact face, age,
hairstyle, hair colour, skin tone, body proportions and wardrobe from the
reference image. Key light from camera left with a defined shadow edge. Realistic
skin and fabric texture. Change only the pose, the stage lighting colour and the
background. No text, logos, brand names, extra people or watermarks. Portrait
orientation, 9:16.
Generate every variation from the anchor. Never from the last variation you made — that stacks two rounds of drift onto the same face before the video model has touched it.
Sequence Them in Frames to Video
Upload all four images in performance order into Frames to Video: close-up front, profile over shoulder, full body on stage, arms raised.
Frames to Video accepts 2 to 8 keyframe images and generates the transitions between them. Write a short motion prompt per transition — "slow turn toward camera", "arms rise on the beat". Describe the motion, not the character. The keyframes already carry the character.
Frames to Video — transition prompt

Image 1 to Image 2: the performer turns slowly toward camera left, chin leading,
shoulders following. Camera holds.
Image 2 to Image 3: the camera pulls back to full body as the performer steps
forward once onto the front of the stage.
Image 3 to Image 4: the arms rise above the head in one continuous movement,
weight shifting onto the back foot. Camera holds.

Keep hair colour, harness detail and key-light direction identical throughout.
No readable text, logos, signage or subtitles.
Repeat with different keyframe sets until you have four or five clips covering roughly 40 seconds.
Assemble and Finish
Import the clips into your editor alongside the track and cut to the beat. Cut timing is an editing decision, not a generation setting.
If you need a higher-resolution master for delivery, run the finished cut through AI Video Upscaler as a separate post step. That is a finishing pass on your edit, not the resolution your clips were generated at.
Titles, artist name, lyric overlays and your end card all go on in post.
What to Check in a Good Output
Three tests. Run them before you cut anything together.
Face across all frames. Compare the first and last frame of each clip. Jawline and eye proportion should match within normal motion variation. If they drift, your keyframes had mismatched lighting — regenerate those keyframes from the anchor with one light direction.
Wardrobe and props across all frames. Harness straps, crop-top edges and accessories should stay visible and structurally correct through the motion. If details dissolve mid-transition, add a keyframe rather than lengthening the prompt.
No readable text anywhere. Freeze on every frame containing clothing print, signage or a screen. Any generated writing is a fail — it is the first thing viewers spot as synthetic.
Keyframes or References? Which Method for Which Job
Use keyframes when you already know what the frames look like. Use references when you already know who the character is.
Frames to Video (2–8 keyframes) — you have specific images and you want the video to pass through them in order. The frames define the states; the prompt defines the transitions between them. Best when the shot is one continuous action with a known start, middle and end.
Omni Reference (role-assigned reference images) — you have an identity and you want it to survive across separate generations that are not a single continuous action. The references define who and where; each generation re-anchors from them. Best when the job is many shots, many locations, or a cut between them.
They are not competitors. A film that needs both uses keyframes inside a shot and references across shots.
So when the job is many separate shots, use the Seedance 2.5 reference method. This page stays with keyframes, and the mechanic itself is covered in turn multiple keyframes into one video.
Tips for Stronger Character Lock
- Use one seed image as the base. Generate every pose from one refined portrait. This keeps facial geometry stable before the video model runs.
- Match lighting across keyframes. Stick to one lighting direction per clip.
- Add keyframes for complex motion. A 180-degree turn needs at least three — front, side, back. Two frames force the model to guess the geometry in between.
- Keep prompts short. Describe the motion, not the character.
- Describe each object once. If a reference controls the jacket, do not describe the jacket in the prompt too. Two control sources is where prop drift starts.
- Test three clips before you write nine. If the face holds across three, it holds across nine.
Frequently Asked Questions
How many keyframe images do I need to keep a face consistent?
Start with three or four for a 10-second clip. Add more when the camera angle changes significantly between shots. Two work for subtle motion like a slow zoom or a head tilt.
Can I keep the same character across different camera angles in a music video?
Yes, if you supply keyframes that already show the character from each angle. A front portrait, a profile and a full body give the model enough reference to interpolate between.
How do I keep a performer looking the same without face-swapping?
Generate one refined portrait as the identity anchor and build every pose from it. Then upload those poses as keyframes. Face-swapping is what some other workflows do; it is not part of this one.
Can I upload images from Midjourney or other generators?
Yes. Frames to Video accepts PNG, JPG and JPEG files from any source. Midjourney is the recommended starting point in this workflow.
How long can one Frames to Video clip run?
Up to roughly 56 seconds using up to 8 keyframes with custom timing per transition. For a full music video, generate several clips and assemble them in your editor.
Should I use keyframes or reference images?
Keyframes when you already have the exact frames and the shot is one continuous action. Reference images when the job is separate shots in different places. See the decision section above.
How This Compares to Kling and Runway for Character Consistency
Kling and Runway generate video from a single image or a text prompt per clip. Holding an identity across several shots there usually means regenerating until the face happens to match.
The keyframe approach is suited to a different shape of problem: you already have the frames, and you want the video to pass through them in a known order. Consider it when the shot is continuous and the poses are decided.
None of this makes one tool better at character consistency in general. It makes them suited to different jobs. If you want a fuller side-by-side, we wrote Kling and Runway separately.