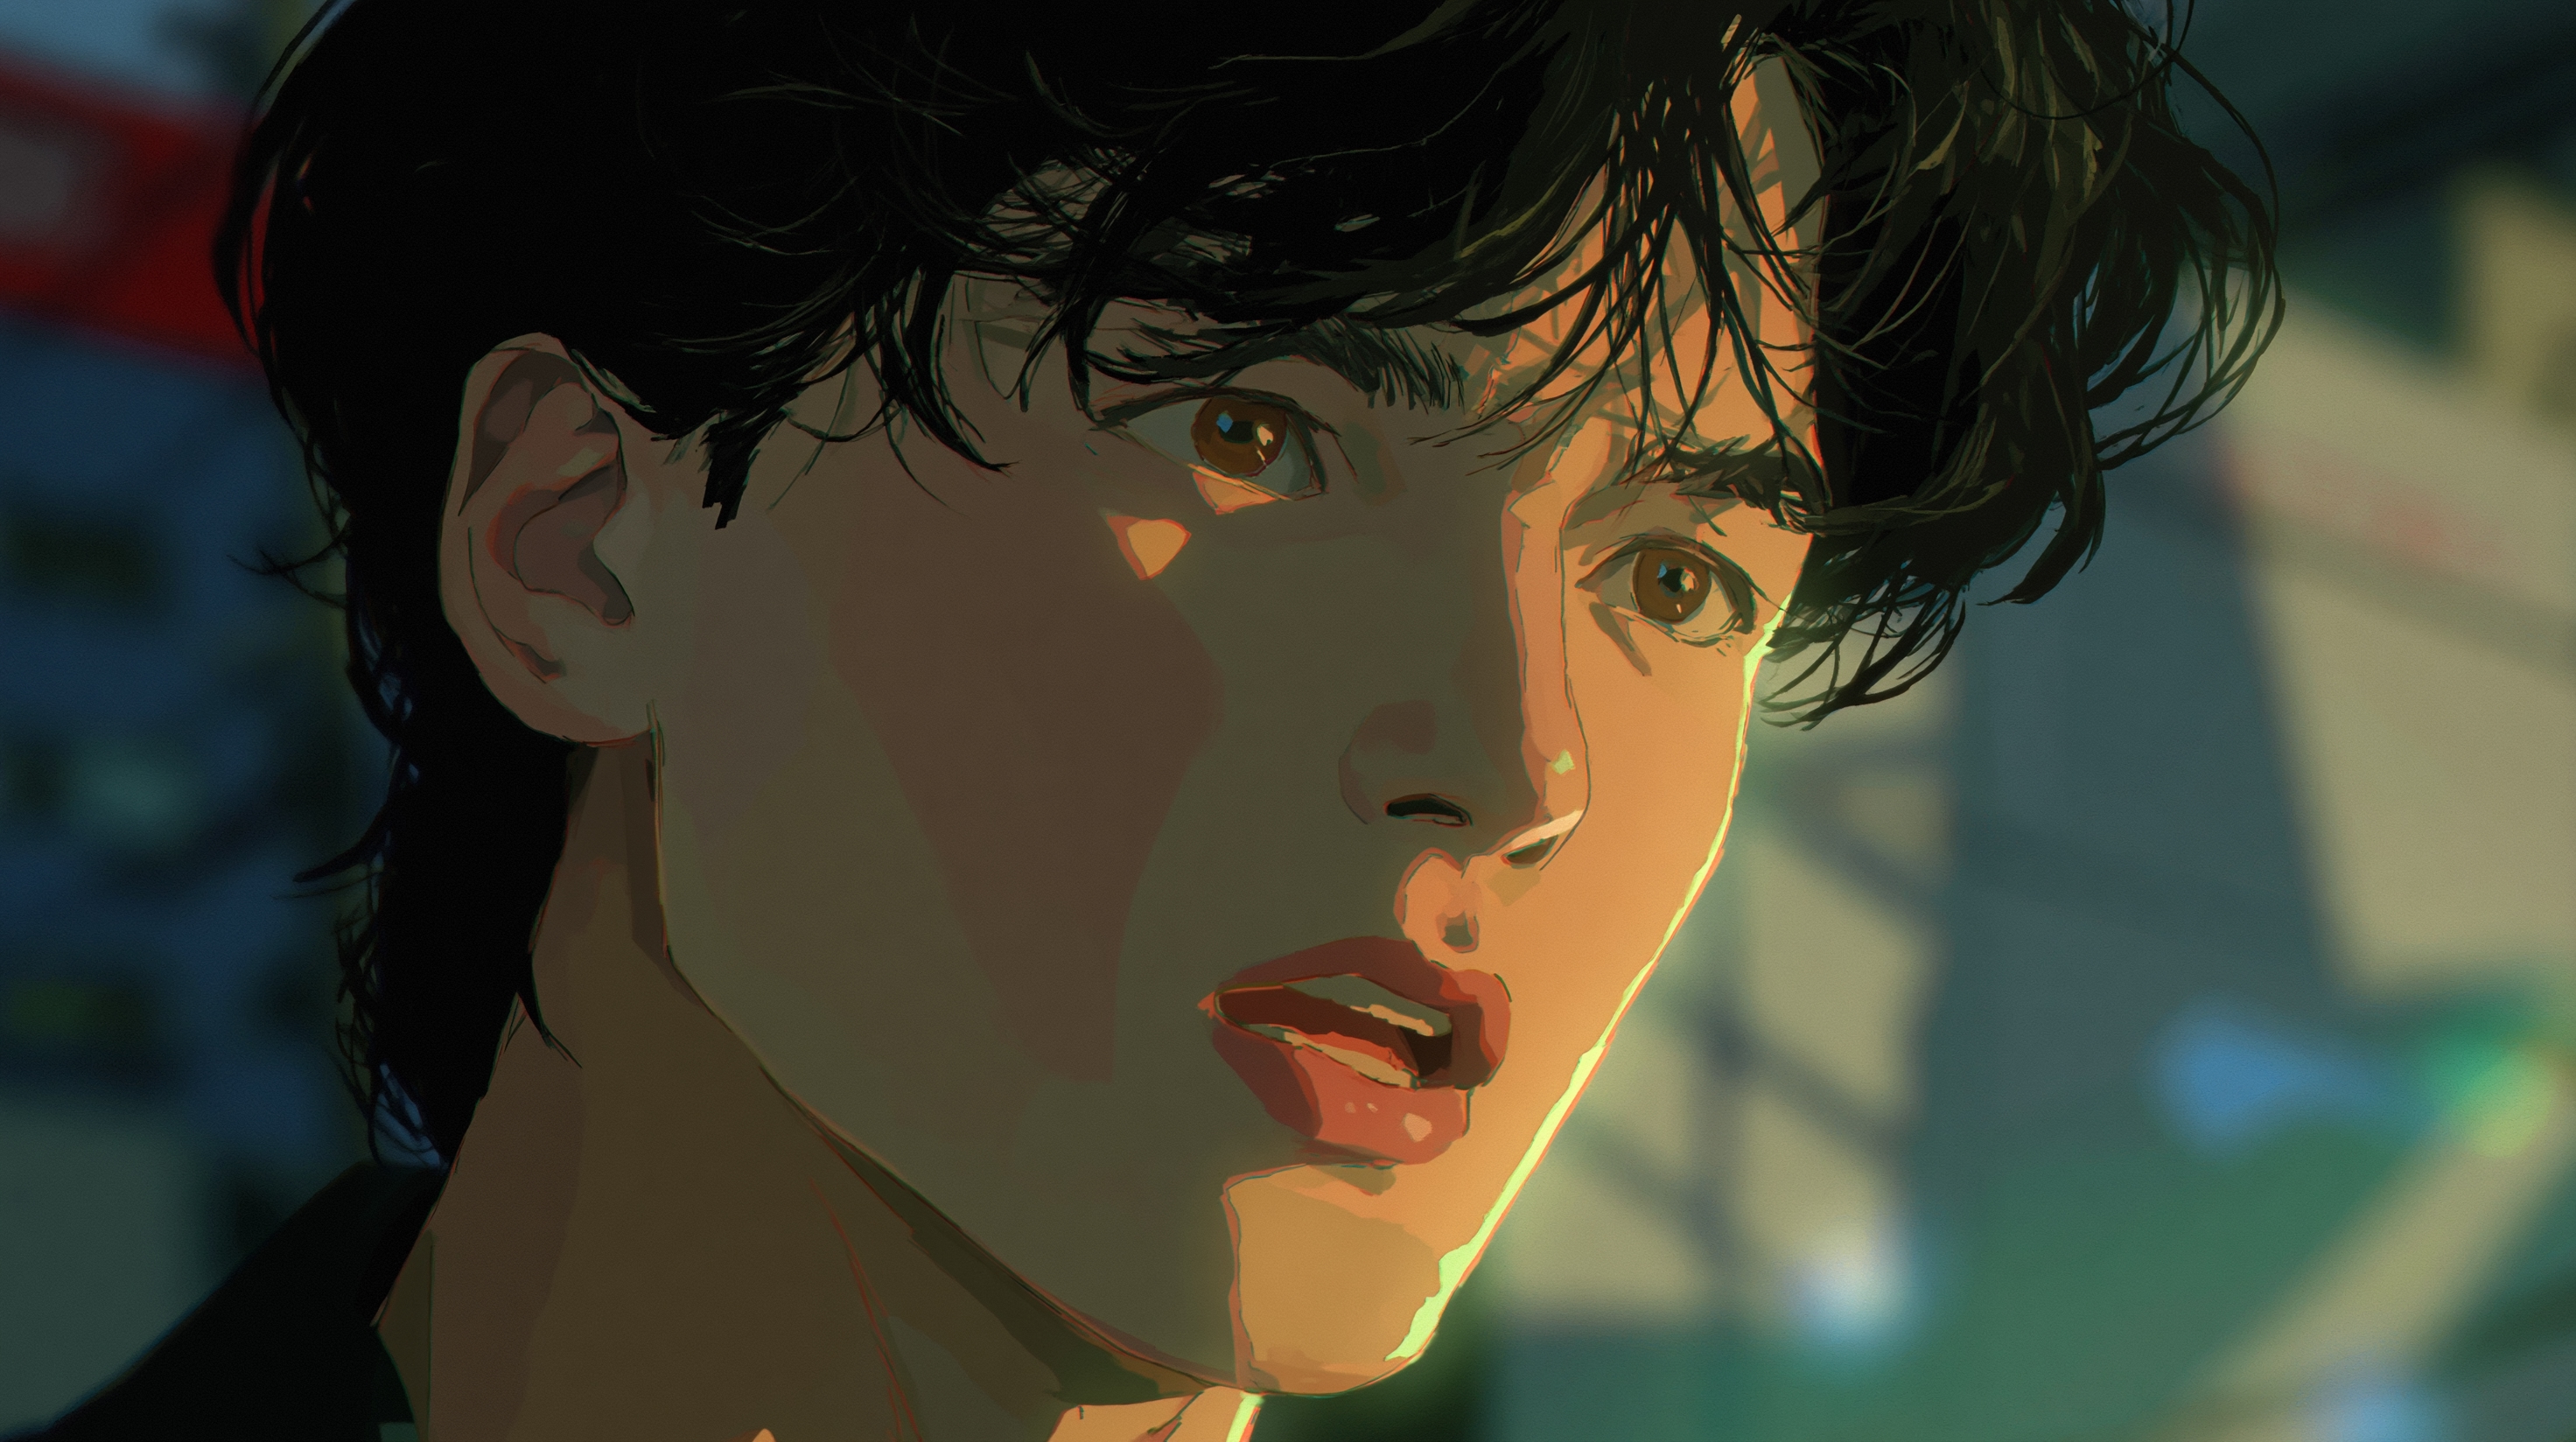
Generate a cel-shaded anime detective portrait, then feed it into a Talking Avatar tool with your narration audio. The tool lip-syncs the character's mouth to every syllable. Reuse the same portrait across episodes with different audio tracks to keep one consistent character — no animation skills, no rigging, no frame-by-frame work.
A detective case briefing is a single character talking to the viewer. One face, one voice, one static framing. That format maps directly to what a talking avatar does best: take a still portrait and animate the mouth to match speech.
The detective genre gives you built-in structure:
Each segment uses the same portrait with a different audio file. The character never changes. The only variable is what the detective says.
This makes it ideal for YouTube series, interactive fiction, visual novel trailers, or any episodic format where you need a recognizable narrator who shows up every time looking the same.
Your portrait is the foundation. Every talking avatar clip you produce will use this same image, so get it right before you move on.
A good anime portrait prompt for this scene includes five elements:
Sharp-eyed male detective, rumpled beige trench coat, short dark hair, cel-shaded in cool blue-grey tones, hard two-tone shadow bands under his eyes, static bust shot, noir anime style, flat color fills, bold ink outlines, dark muted background, 90s OVA aesthetic
In DomoAI's Text to Image, select the Japanese Anime style before generating. This steers the model toward the cel-shaded look rather than a glossy or painterly output.
If anything fails the check, regenerate. You only need to do this once — every future episode reuses this file.
The audio drives the lip-sync. Clean audio produces clean mouth movement. Messy audio produces drift.
Record these yourself, hire a voice actor, or paste them into a text-to-speech tool. Each uses the same detective portrait.
Script 1 — The Cold Open (8 seconds)"Three suspects. One missing artifact. And a timeline that doesn't add up. Let's go through this carefully."
Short, measured delivery. Works as a YouTube Short intro or series hook.
Script 2 — The Mid-Episode Recap (15 seconds)"So here's what we know. The gallery's security footage cuts out at 11:47 PM. The curator says she locked up at 11:30. But the night guard's log says the east door was still open at midnight. Someone's lying."
Longer monologue for episodic content. Same portrait, different audio. No style drift between clips.
Script 3 — The Cliffhanger Close (10 seconds)"I thought I had the answer. Then I found the second set of fingerprints. This case just got a lot bigger. I'll see you next time."
Series ender. Same character, same face, produced in under two minutes.
Open Text to Image and select the Japanese Anime style. Enter your detective prompt. Review the output against the portrait checklist above. Save the final image.
Write your monologue and record it, or type your script directly into DomoAI's built-in Text to Speech inside the Talking Avatar tool. DomoAI's Talking Avatar supports uploading audio files (MP3, WAV, M4A — up to 80MB) or using text-to-speech with 6 emotions and 6 voice tones across multiple languages. No external recording software required.
Upload a clear, forward-facing portrait. Type the words you want your avatar to speak or upload your audio. Pick a male or female voice from DomoAI's preset voices or upload a short audio sample to clone your own voice.
You can also add expression direction. Action prompts let you guide the avatar's behavior — expression commands like "Raise eyebrows in surprise" or "Nod occasionally" shape how the character performs the monologue.
A recent update expanded what Talking Avatar can do. DomoAI's Talking Avatar now transforms still images into dynamic talking characters with synchronized lip movements, customizable voices, emotions, and multi-language support.
Open a new Talking Avatar session. Upload the same portrait file. Attach a different audio track. The character stays identical — same face, same ink outlines, same cool blue-grey tones. No regeneration needed.
Download each clip and drop them into your video editor. Add background music, title cards, and evidence graphics in post. The talking avatar clip is your narration layer.
For optimal results, use high-resolution, front-facing portraits with clear facial features. The subject should have their mouth closed or in a neutral position.
If your audio has background music plus vocals, separate the voice first and keep only the vocal track.
Additional tips:
The Pro Plan includes advanced lip-sync options for Talking Avatar at 30-second and 60-second durations. For free or lower-tier plans, shorter clips work best. You can split a longer monologue into segments and join them in your editor.
Yes. The portrait is a static image file. You upload the same file to each new session. The tool animates the mouth and face, but the underlying image never changes. No style drift, no face drift.
DomoAI supports uploading audio files (MP3, WAV, M4A) or using text-to-speech with 6 emotions and 6 voice tones. Multiple languages are supported. You can type your detective script directly into the platform and skip external recording entirely.
Specify "cel-shaded," "flat color fills," and "bold ink outlines" in your prompt. Add "hard two-tone shadow bands" for noir lighting. Select the Japanese Anime style in the model settings. Avoid words like "glossy," "shiny," or "3D render" — those push toward the look you want to avoid.
Talking Avatar accepts any clear, forward-facing portrait. The image source does not matter. If the face is visible and the mouth is unobstructed, it works. JPEG, PNG, and JPG formats are all supported.
Talking Avatar takes a still image and animates the face to match audio. It is built for narration and dialogue. Video to Video turns ordinary clips into anime, watercolor paintings, oil-painted scenes, or any visual style you can imagine. Use Video to Video when you already have live-action footage and want to restyle it. Use Talking Avatar when you start from a single portrait and an audio file.
Building a consistent talking anime character in ComfyUI means stacking multiple nodes: AnimateDiff for motion, a character LoRA for face consistency, IP-Adapter for identity preservation, and ControlNet for pose guidance. Each node has its own settings, version dependencies, and failure points. Keeping the same face across clips requires careful LoRA training or repeated IP-Adapter tuning.
DomoAI replaces that entire node graph with two steps: generate one portrait in Text to Image, then reuse it across unlimited Talking Avatar sessions with different audio. The character stays locked because you feed in the same source image every time — not because a LoRA is holding it together. For creators who want a consistent anime narrator without learning ComfyUI, this is the faster path.
Make every scene
worth sharing.