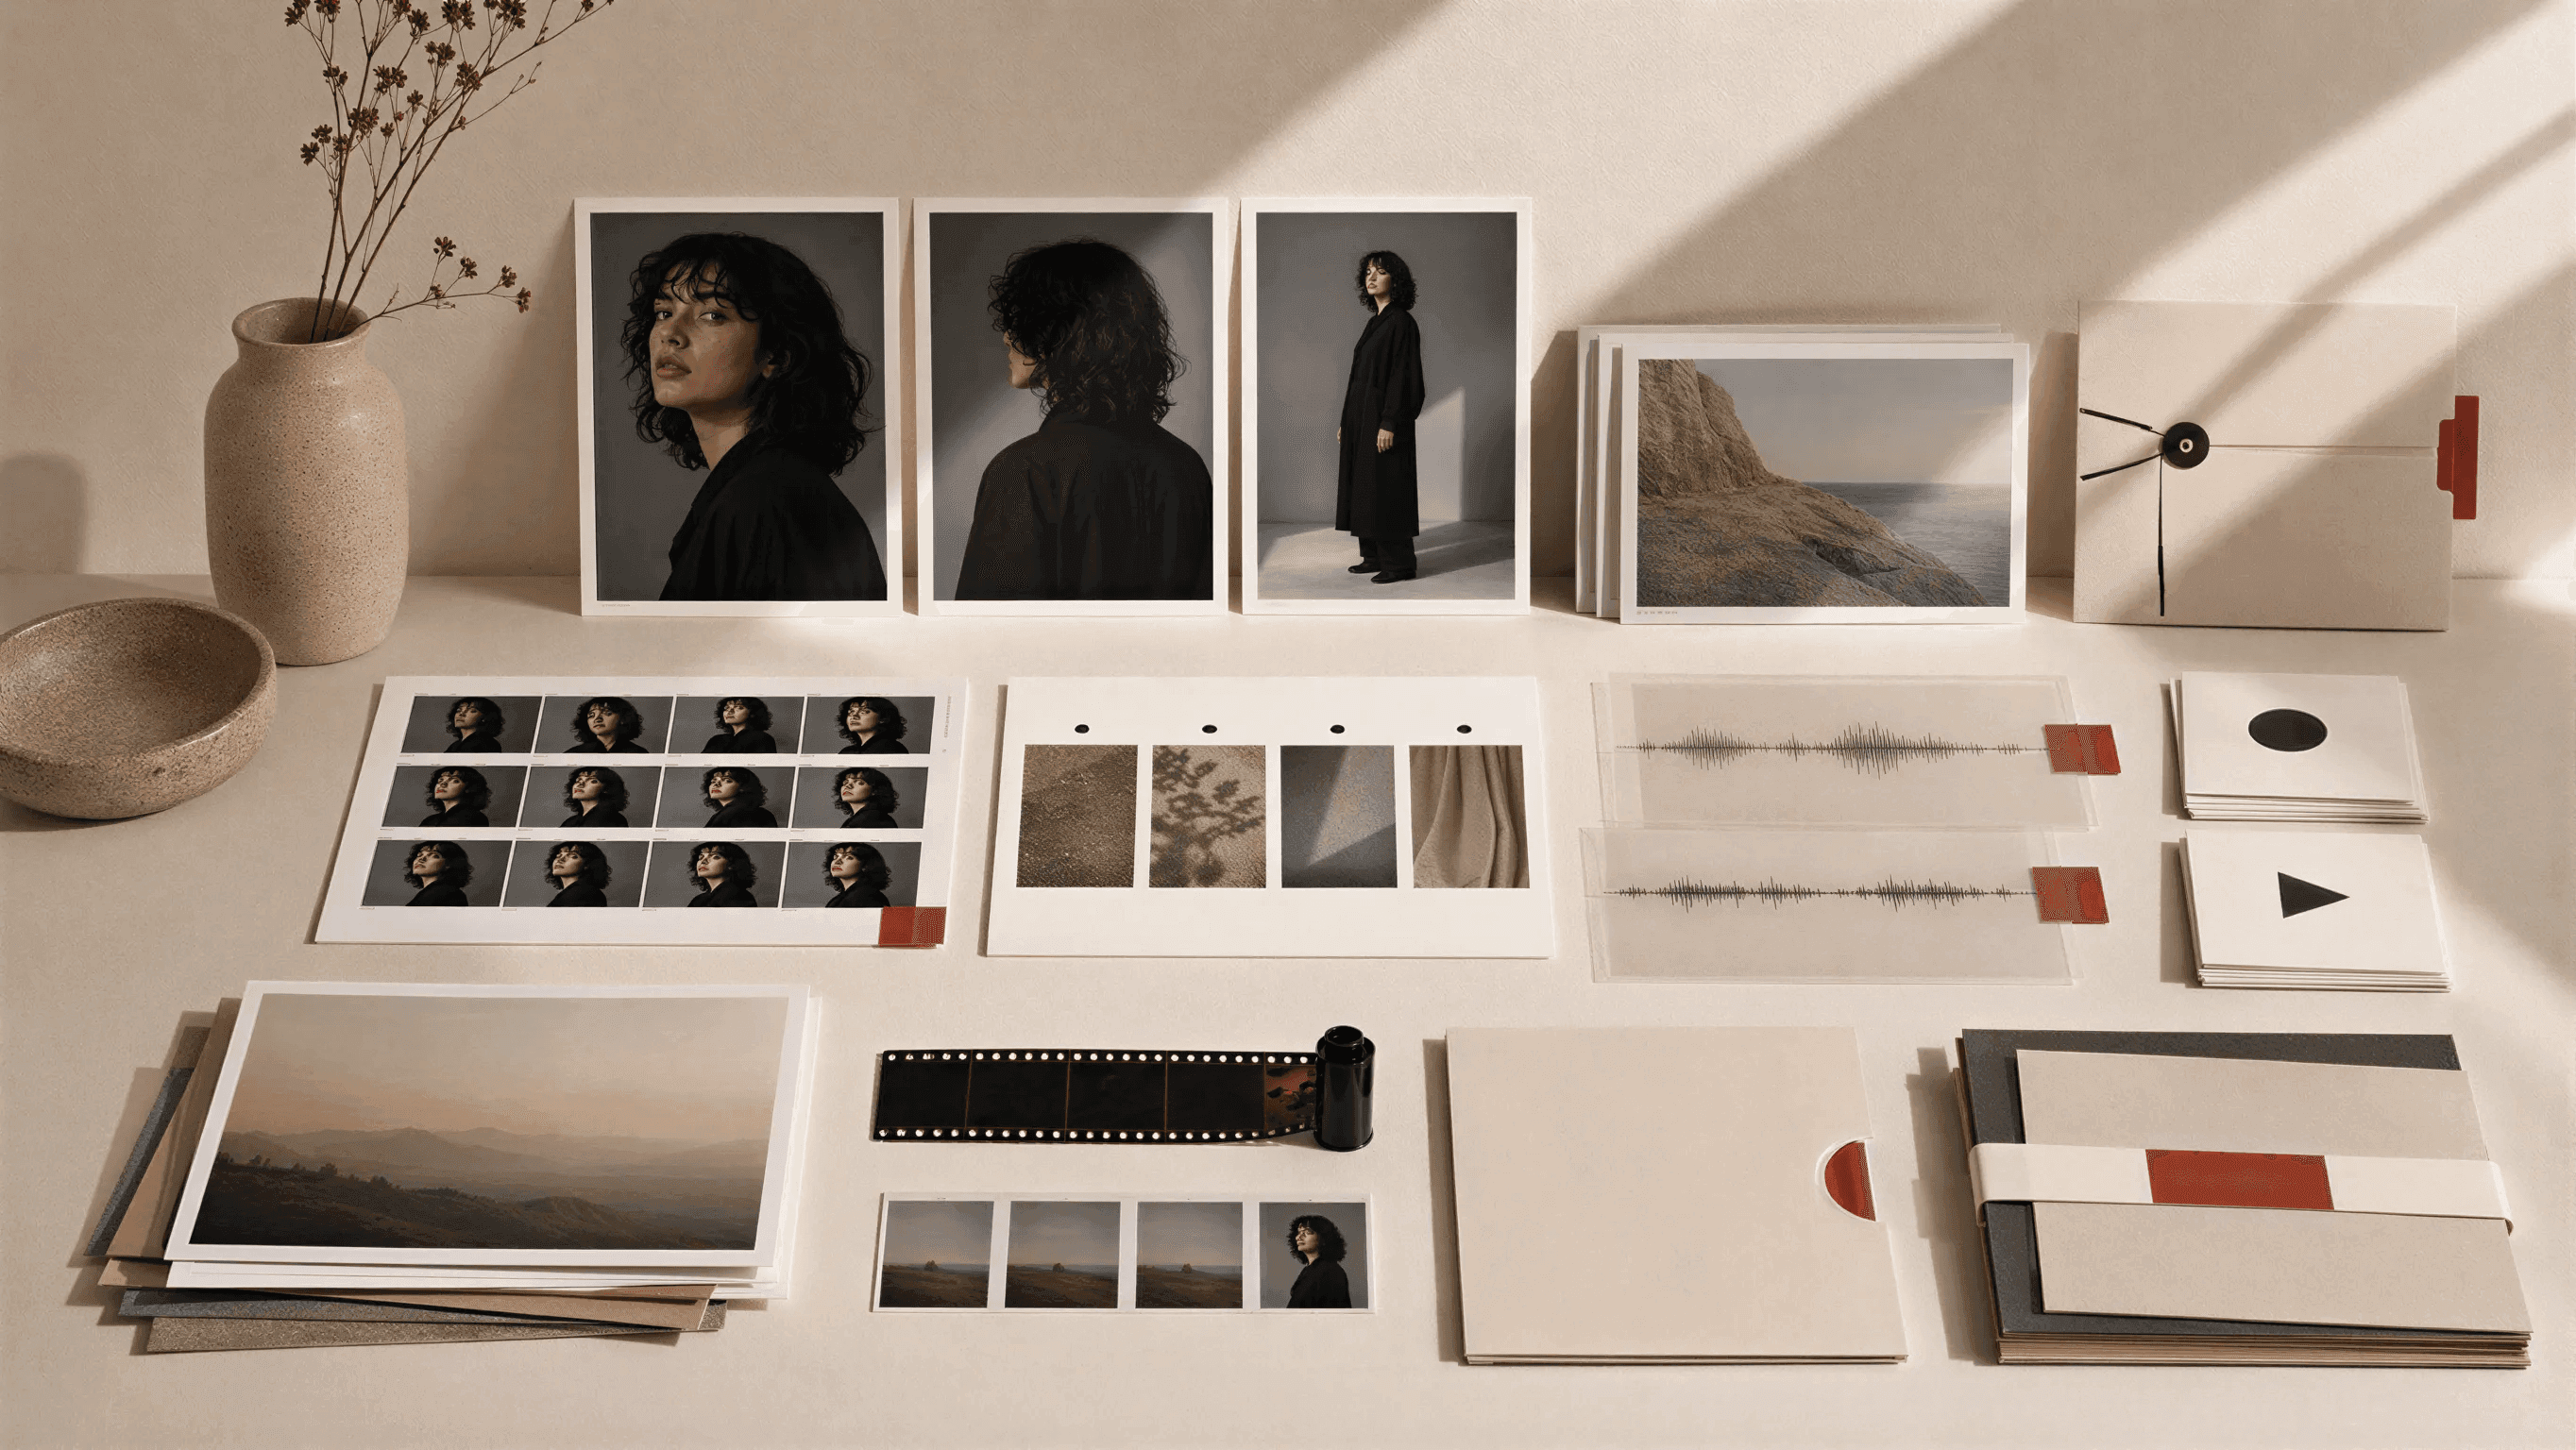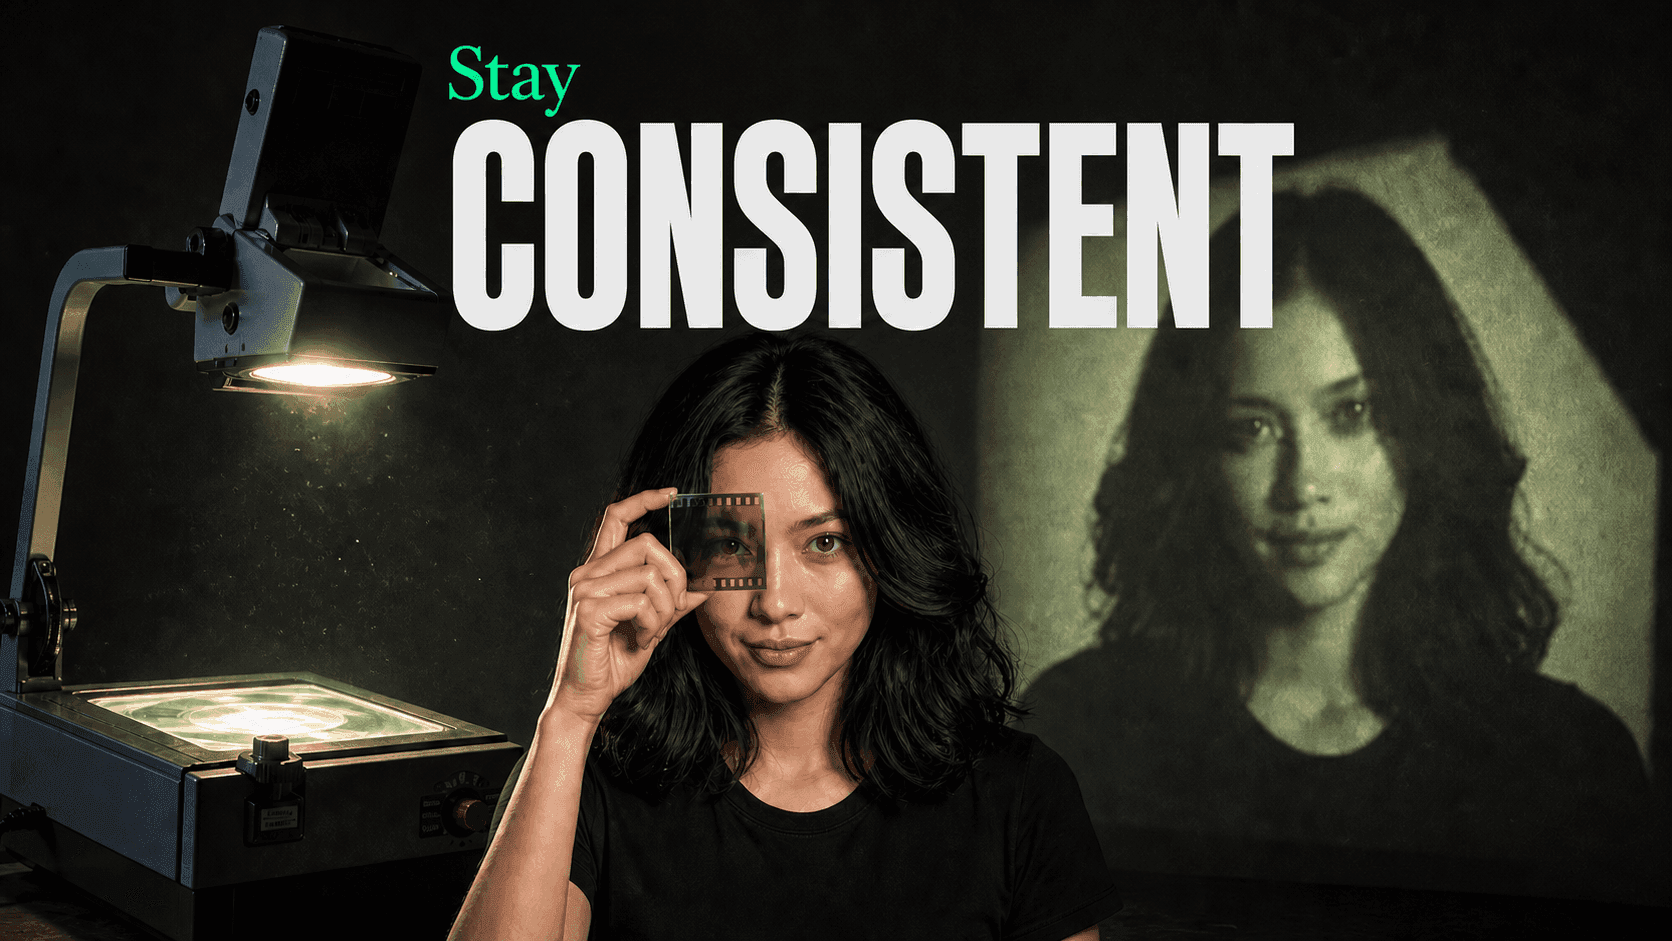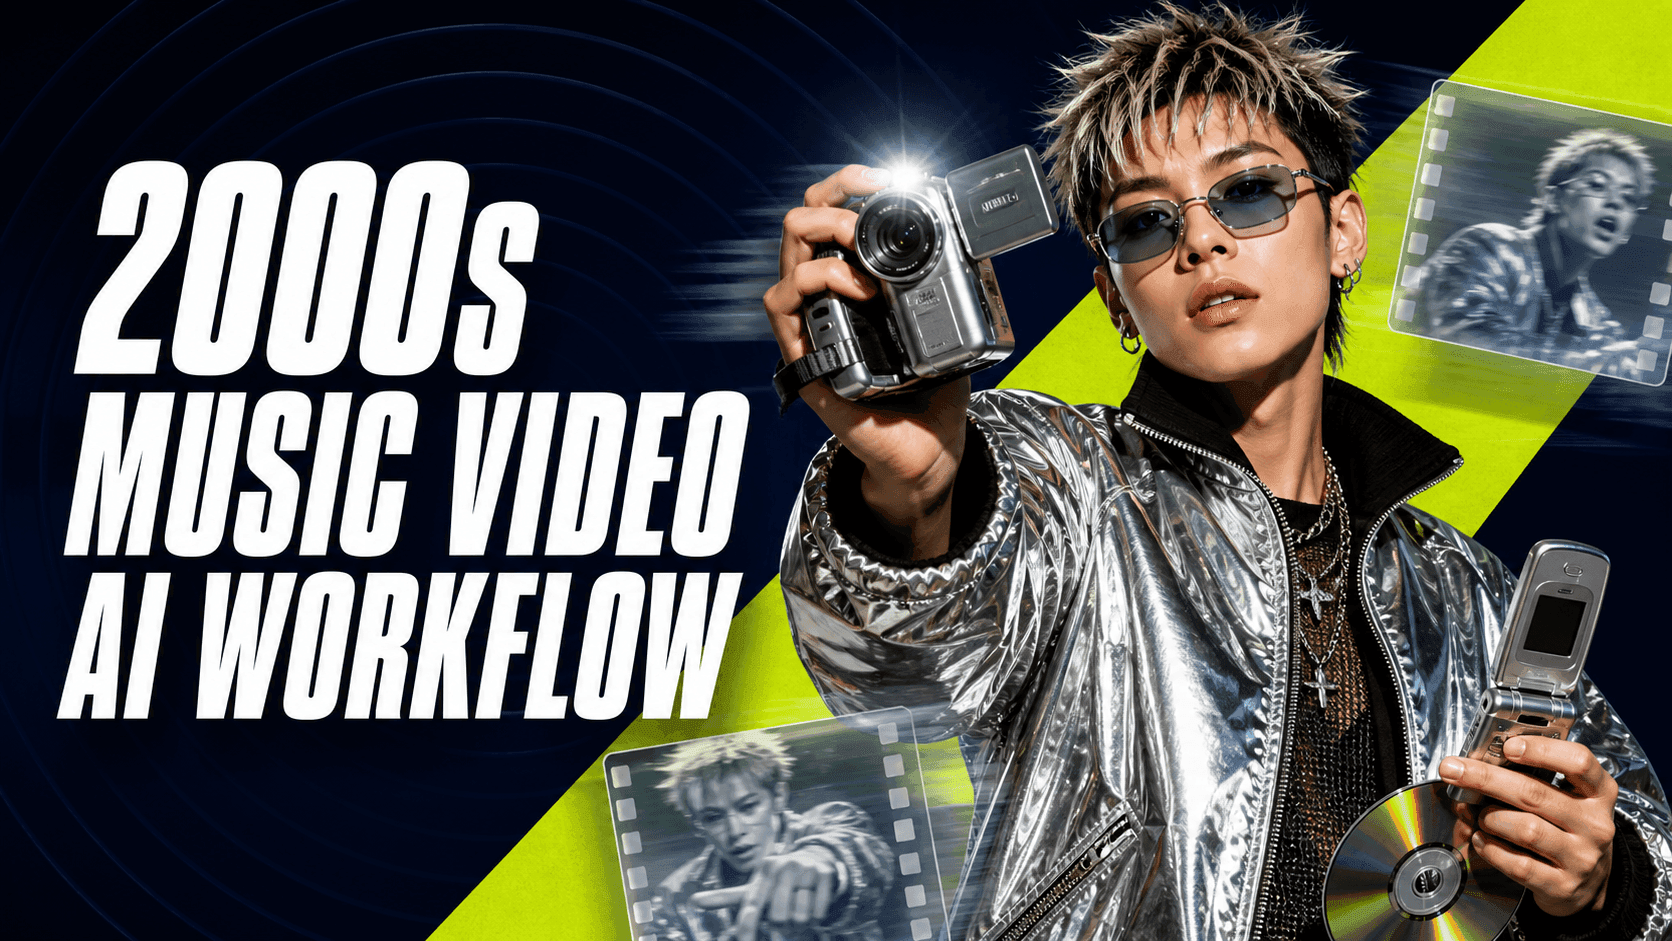
DomoAI is an all-in-one AI video and animation platform for turning text, images, and existing clips into finished visual content. Use it to generate ideas, edit images, animate scenes, create talking avatars, restyle video, and upscale final clips without moving through five separate tools.
What DomoAI does now
DomoAI has grown beyond the older "AI art generator" description. A better way to understand it is as a creator workflow for AI video and animation:
- Generate or upload a starting asset.
- Edit the image, character, or video until the source looks clean.
- Animate it with the right video tool.
- Add speech, style, motion, or lip sync where needed.
- Upscale and export for your platform.
That flow matters because most AI video projects do not start and finish with one prompt. A short social video may need a source image, a motion prompt, a voice line, a background change, and a final upscale. DomoAI keeps those steps close together so you can stay in the same creative workspace.
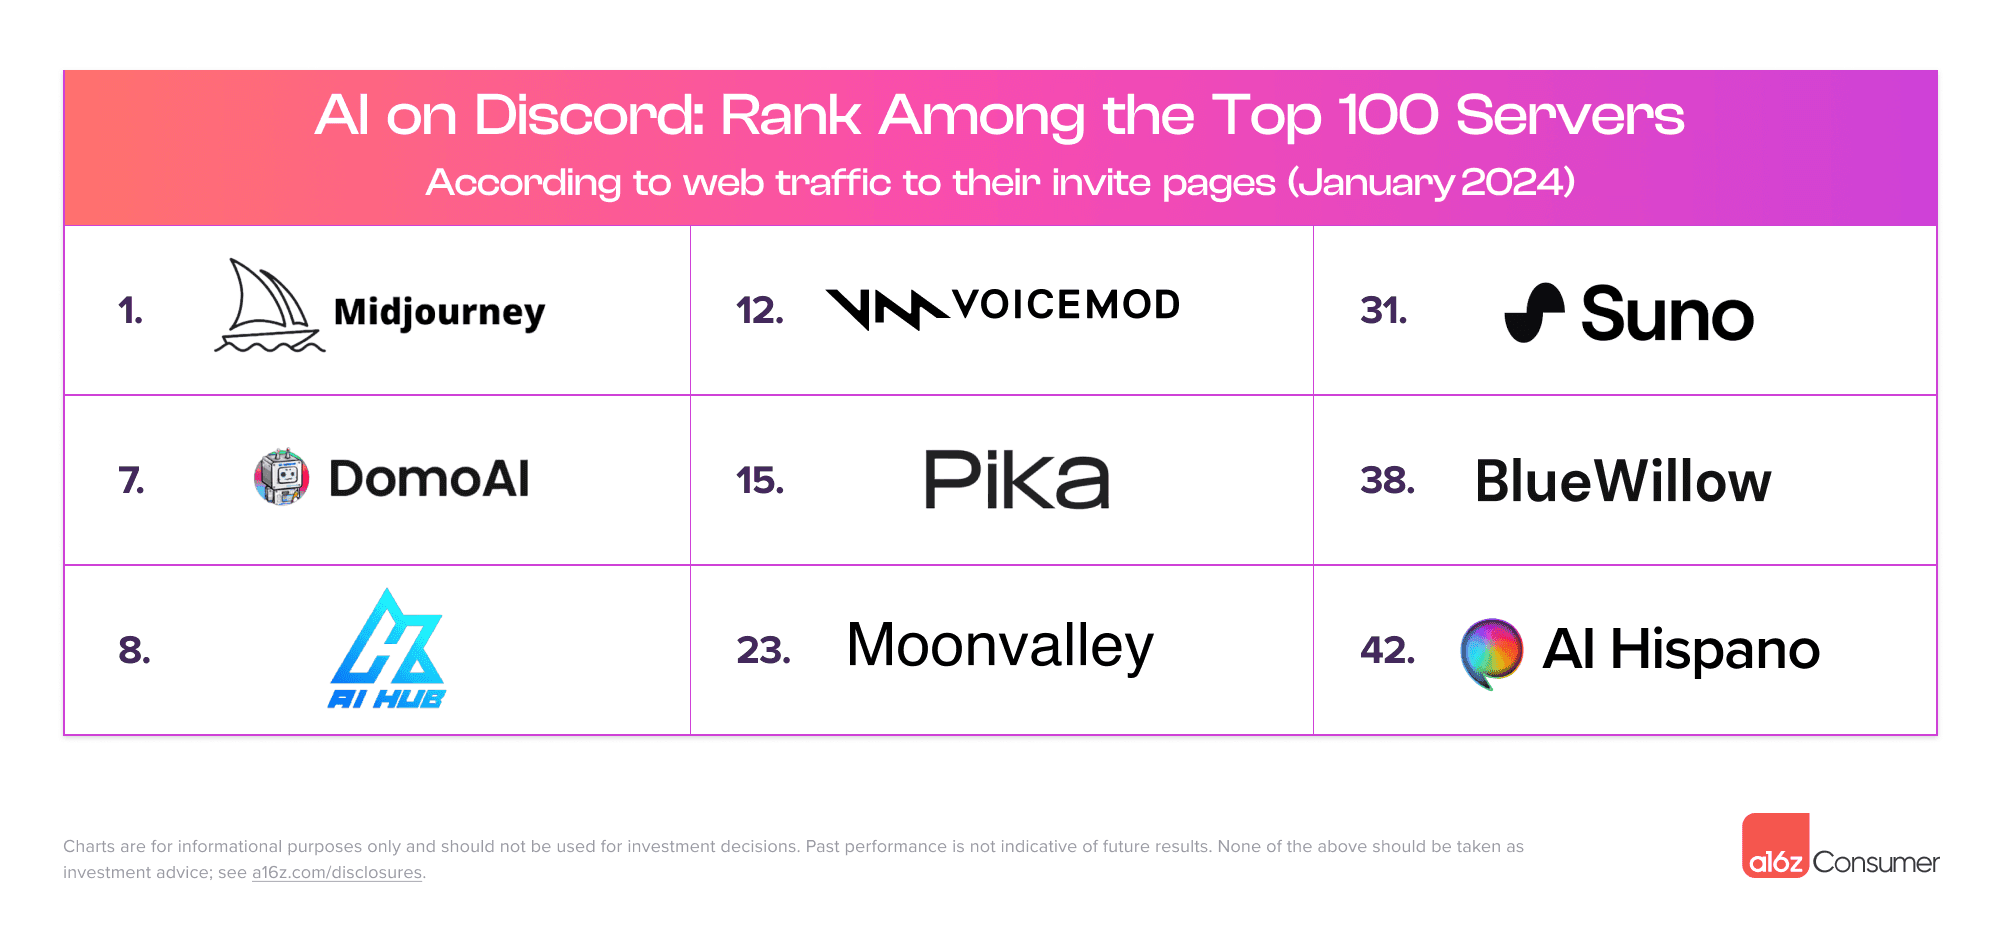
DomoAI also has a visible creator community around that workflow. In a16z's Top 100 Gen AI Consumer Apps report, Discord traffic is described as a leading signal for AI apps, especially in content generation; DomoAI's own About page notes that its Discord community ranks #7 globally.
The platform is especially useful for:
- Short-form videos for TikTok, Reels, and YouTube Shorts.
- Anime, VTuber, mascot, and character-driven clips.
- AI music video scenes and lip-synced singing shots.
- Product visuals, UGC-style ads, and social commerce clips.
- Video-to-video restyles, including anime and painterly looks.
- Storyboard, keyframe, and before/after transition videos.
Pick the right DomoAI feature
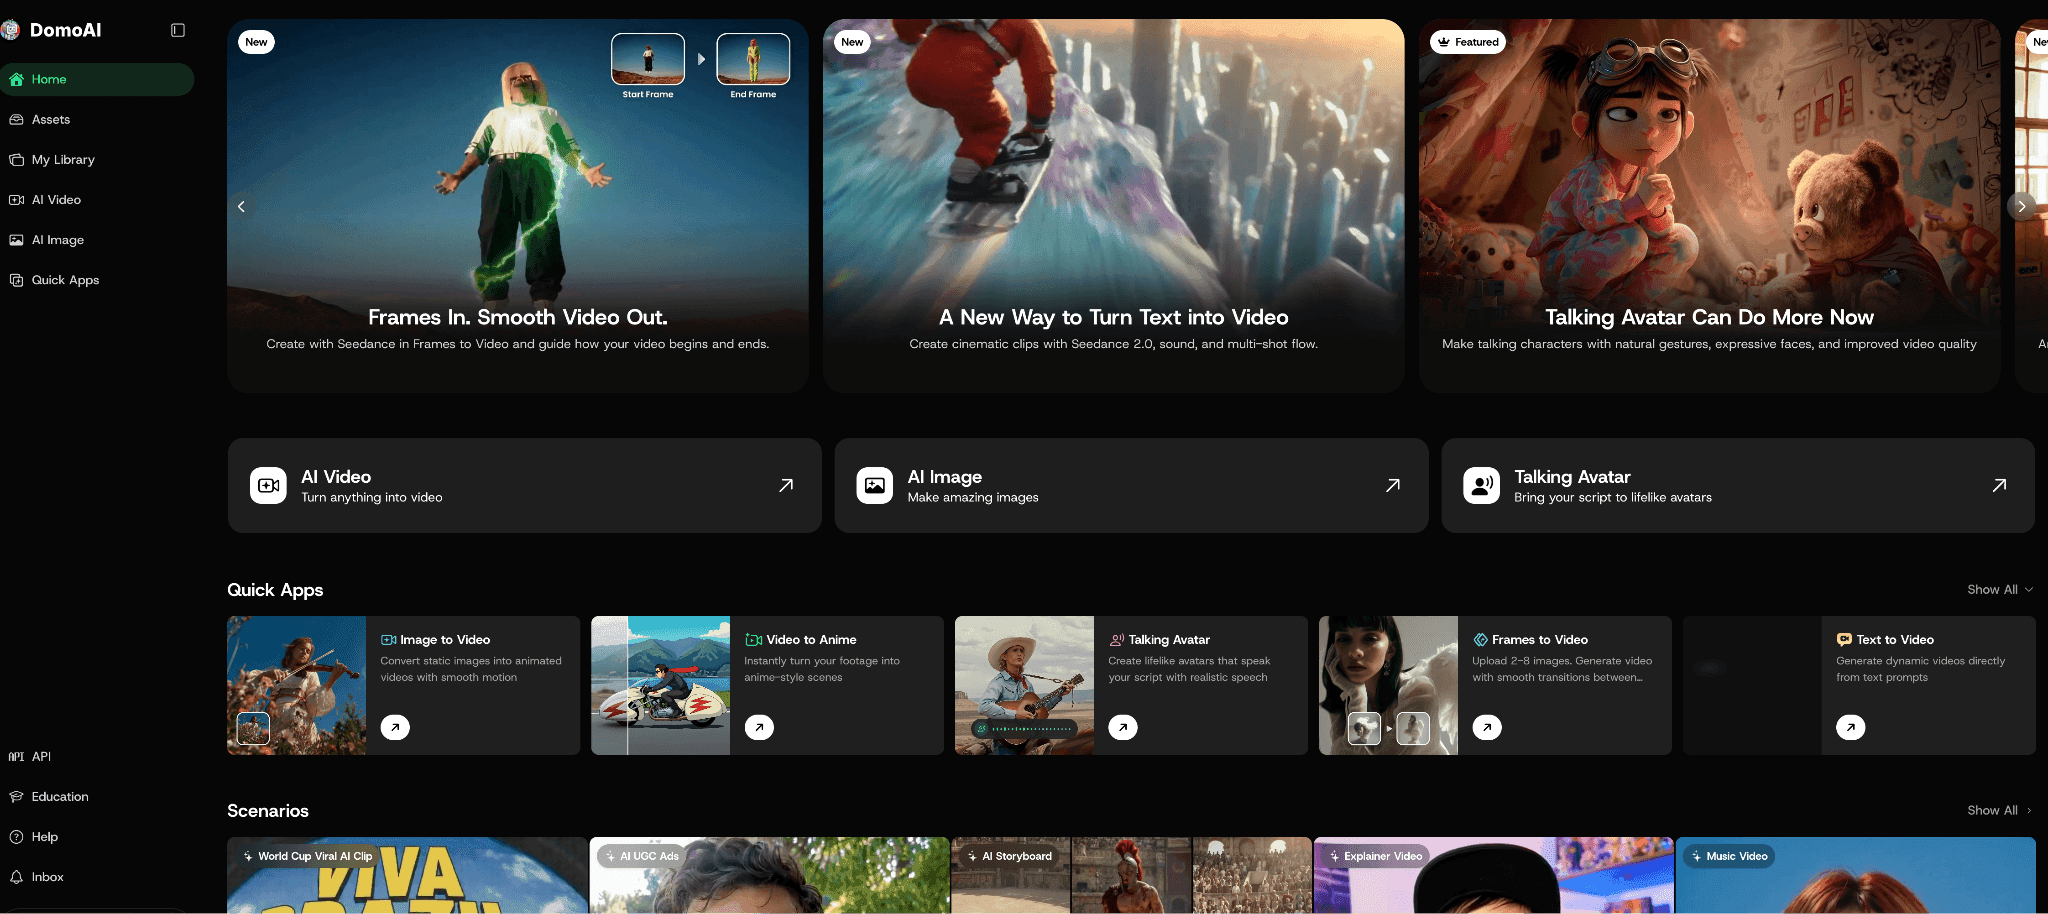
Start with the input you already have. Then choose the DomoAI tool that matches the output you want.
| If you have... | Use this DomoAI feature | Best for |
|---|---|---|
| A written scene idea | Text to Video | Fast scene concepts, B-roll, story openers, social hooks |
| One strong image | Image to Video | Animating portraits, products, characters, pets, scenes, and social templates |
| Two or more planned frames | Frames to Video | Controlled transitions, product reveals, storyboard motion, before/after shots |
| A character image and motion reference | Character to Video | Making an original character dance, walk, gesture, or copy a performance |
| A portrait plus voice or script | Talking Avatar | Speaking avatars, AI singers, explainers, mascots, pet talk videos |
| A short existing clip | Video to Video | Restyling footage into anime, watercolor, oil painting, pencil sketch, or custom looks |
| An image that needs fixing first | AI Image Editing | Changing outfits, fixing details, blending references, building cleaner source art |
| A final clip that needs polish | Video Upscaler | Sharper exports for YouTube, Shorts, Reels, ads, and client previews |
This is the easiest way to avoid wasting credits. If your idea needs a talking close-up, start with Talking Avatar. If it needs a dance move, start with Character to Video. If it needs a cinematic shot from one image, use Image to Video.
A simple first workflow
If you are new to DomoAI, start with one image-to-video project. It teaches the core loop without asking you to plan a full film.
1. Choose the final video form
Before choosing aspect ratio or duration, decide what the video is supposed to become. Are you making a real creator post, a product asset, a music-video shot, or just testing the tool for fun?
- If you are just experimenting, make a short motion test from one image and judge the motion, face stability, and style.
- If you are a creator, choose the content form first: a Reel, Short, TikTok clip, talking avatar intro, anime character moment, product reveal, or music-video shot.
- If you are making marketing content, define the job of the clip: hook, demo, proof, testimonial, or CTA.
Then choose the platform settings:
- 9:16 for TikTok, Reels, and Shorts.
- 16:9 for YouTube, presentations, and widescreen ads.
- 1:1 for square social posts.
Then write one clear outcome. For example: "Turn a product photo into a five-second reveal clip for a vertical ad" or "Animate an anime character portrait with a subtle camera push and wind."
2. Create or clean your source image
Your first image sets the ceiling for the video. A clean source usually gives better motion than a busy or low-resolution source.
Use AI Image Editing when you need to:
- Remove background clutter.
- Fix hands, faces, or product details.
- Change an outfit or scene.
- Blend references into one image.
- Make a consistent character sheet or hero frame.
DomoAI's current image editing stack includes GPT Image 2, Nano Banana 2, and Nano Banana Pro as model choices. Use them as preparation tools before animation, not just as standalone image generators.
3. Animate the image
Open Image to Video, upload or select your image, choose the model/settings that fit the project, and write a motion prompt.
A good beginner prompt uses this structure:
Subject + action + environment + style + camera movement + constraints
Example:
A cozy anime cafe scene at night, the main character turns toward the window and smiles softly, rain moves outside, warm lights flicker, slow camera push-in, cinematic anime style. Keep the same face, outfit, table layout, and background. No extra characters, no text.
Keep the motion simple for the first run. One clear action beats five competing actions.
4. Add speech or singing only when needed
If your clip needs a speaking face, move the portrait or character image into Talking Avatar. You can use DomoAI Text to Speech or upload a supported audio file such as MP3 or WAV.
For music-video work, keep the lip-sync section short and reviewable. Split long vocals into shorter pieces, generate the best takes, then assemble the full music video in an editor such as CapCut, Premiere Pro, or DaVinci Resolve.
5. Upscale the final clip
Use upscaling as the last pass, not the first pass. Generate and revise at normal settings until the shot works, then use Video Upscaler for final polish.
For a deeper planning workflow, pair this guide with DomoAI's article on how to storyboard AI videos before generation.
4 practical creator workflows
Short-form video from one image
This is the fastest DomoAI workflow:
- Generate or upload one strong still image.
- Clean it with AI Image Editing if needed.
- Animate it with Image to Video.
- Add a short voice line with Talking Avatar if the subject should speak.
- Upscale and crop for the platform.
Use this for product shots, character reveals, old-photo animation, meme clips, travel visuals, or quick story moments.
AI music video workflow
For AI music videos, think in shots instead of one long generation.
- Create the song in your music tool.
- Generate character, location, outfit, and prop images.
- Save the best stills as reusable assets.
- Use Image to Video for cinematic motion.
- Use Frames to Video when a scene needs a specific start and end.
- Use Character to Video when a dance or performance reference should drive the motion.
- Use Talking Avatar for singing close-ups.
- Edit the full sequence with music, captions, and beat cuts in your timeline editor.
This workflow is stronger than trying to create an entire music video from one prompt because each shot can be reviewed and replaced.
Product or UGC ad workflow
For a product ad, start with control:
- Use AI Image Editing to place the product in a clean lifestyle scene.
- Animate the product with Image to Video.
- Add a presenter, mascot, or founder-style character with Talking Avatar if needed.
- Use Screen Keying when you need to composite the subject over another background.
- Upscale and export multiple aspect ratios.
Keep generated text out of the video when possible. Add final captions, prices, product names, and legal text in your editing app so they stay readable.
Anime or style-transfer workflow
If you already have footage, use Video to Video to keep the motion and change the look. This works well for dance clips, cosplay footage, travel videos, and short talking clips.
For cleaner results:
- Use a short source clip.
- Pick footage with clear lighting and visible subjects.
- Use Subject Only when the main character should change but the background should stay closer to the original.
- Review faces, hands, clothing, and background consistency before upscaling.
Settings and models to know
DomoAI now includes several model paths, so it helps to know the practical differences.
Seedance is relevant for Text to Video, Image to Video, Frames to Video, and Character to Video where available. It is built for short cinematic clips, prompt-guided motion, multi-shot output, and native audio support. Use it when the project needs more cinematic movement or sound-aware video.
DomoAI 2.4 and 2.4.1 models are useful for speed, consistency, lifelike motion, and frame-based control depending on the feature. In Frames to Video, DomoAI 2.4.1 supports multi-frame workflows with 2 to 8 keyframes, while Seedance 2.0 Frames to Video is best understood as a start-frame plus end-frame path.
Talking Avatar uses an image or video plus audio. You can create the voice in Text to Speech or upload supported audio. For best results, use a clear front-facing portrait, a short script, and one emotion or action at a time.
Video to Video is still the right choice when your source is already a moving clip. It preserves the performance while changing the visual world.
Tips for better results
Give each shot one job
AI video works best when the model knows what matters. "A character turns, smiles, and the camera pushes in" is easier to control than "a character runs, jumps, transforms, sings, waves, and changes outfits."
Lock important details
Tell the model what must stay the same:
- Face and hair.
- Outfit and accessories.
- Product shape and logo area.
- Background layout.
- Camera angle.
- Lighting direction.
This is especially useful for character consistency and product shots.
Use visual planning before complex scenes
If a scene needs exact continuity, create clean storyboard frames first. Then use Image to Video or Frames to Video rather than relying only on text.
Add final text outside the generation step
For captions, prices, subtitles, and CTA text, use an editor after generation. AI video models can distort text, especially when the camera moves.
Regenerate before you upscale
Upscaling improves polish, but it will not fix a weak scene idea. First choose the take with the best motion, face stability, hands, product shape, and composition. Then upscale.
Pricing and plan notes
DomoAI has a free plan for trying the platform, plus paid plans with monthly credits and additional access. As of the current pricing page, yearly billed plans list Basic at $6.99/month, Standard at $19.59/month, and Pro at $48.99/month.
Standard and Pro include Relax Mode for eligible generations. Relax Mode does not use credits, but it is slower than Fast Mode. Basic does not include Relax Mode.
Plan details, credit costs, model access, and duration limits can change, so check the official pricing page before making a subscription decision.
What DomoAI is not best for
DomoAI is made for practical creator workflows, not full manual film production control.
Use honest expectations:
- It does not replace a full timeline editor for final music mixing, subtitles, legal text, or beat-level cuts.
- Camera and motion control still depend on prompts, settings, keyframes, and regeneration.
- Longer music videos, ads, and story scenes work best as multiple short clips edited together.
- Some features and longer durations require specific plans or Fast Mode.
- Prompts improve with testing. The first output is often a draft, not the final.
That is normal for AI video. The best workflow is to generate in small pieces, keep the strongest takes, and use DomoAI's connected tools to move from source image to motion to polish.
FAQ
What is DomoAI used for?
DomoAI is used to create AI videos, animations, talking avatars, stylized clips, AI images, character motion, and upscaled visual content. It works from text prompts, uploaded images, existing videos, character references, and audio.
Is DomoAI only for anime videos?
No. DomoAI is strong for anime and character workflows, but it also supports realistic, artistic, product, social, music-video, avatar, and marketing workflows.
Which DomoAI feature should beginners try first?
Start with Image to Video if you have one image, Text to Video if you only have an idea, or Talking Avatar if you want a speaking portrait. These routes teach the core workflow quickly.
Can DomoAI make talking avatar videos?
Yes. Talking Avatar can use an image or video with uploaded audio or DomoAI Text to Speech. It is useful for AI singers, explainers, mascots, faceless channels, and localized social clips.
Can I use DomoAI for AI music videos?
Yes. Use DomoAI to create and edit visuals, animate scenes, copy character motion, generate talking or singing avatar clips, and upscale final shots. Add full music mixing, captions, and timeline edits in an external editor.
How do I get better DomoAI results?
Use clean source images, simple shot goals, clear motion prompts, and specific consistency instructions. Review each clip before upscaling, and build longer projects from several short, controlled generations.